type portrait steps
Directions
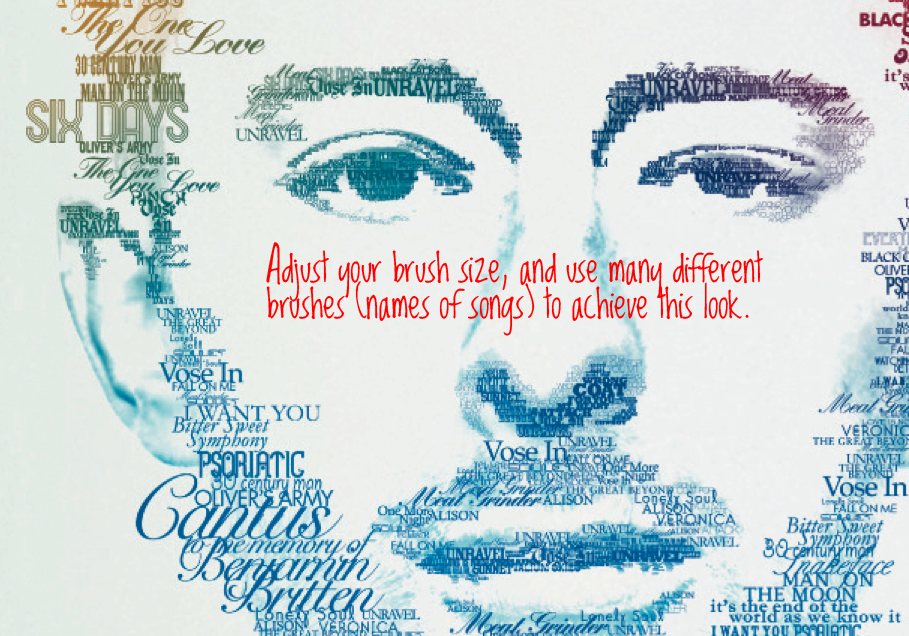
Create a portrait combining your image and type together. The words used for this (type) must be the titles of songs you like and are inspirational songs to you. These song titles must be school appropriate. You can use them multiple times, and should be varied in size. Try and come up with around 20 or more song titles for this project. They could be recent songs or older songs you still enjoy listening to today.
For this project, select one photo I took of you are located in the Visual_Arts on 'sapps-01' > Computer Art > Folder with Your Name
Art & Design Concepts in this lesson... Elements and Principles of Art - Texture and Color
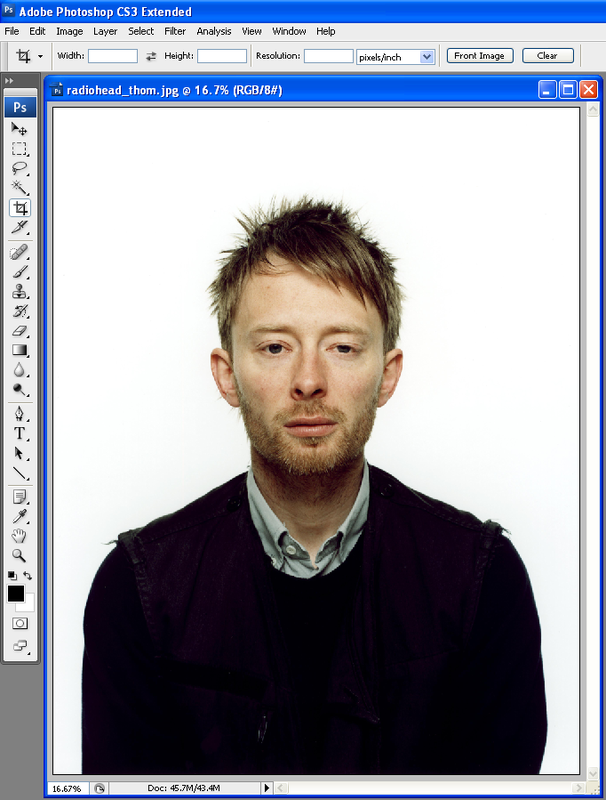
Step 1
Open your photo in Photoshop - File > Open
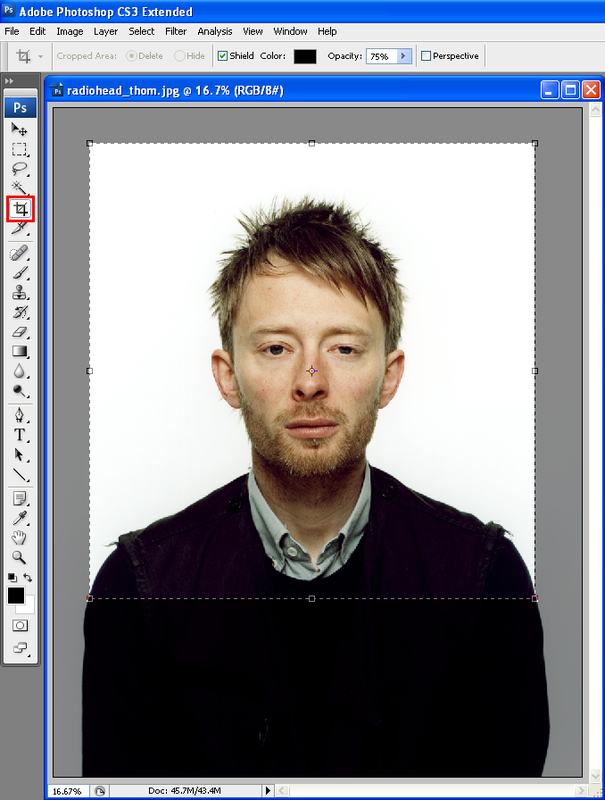
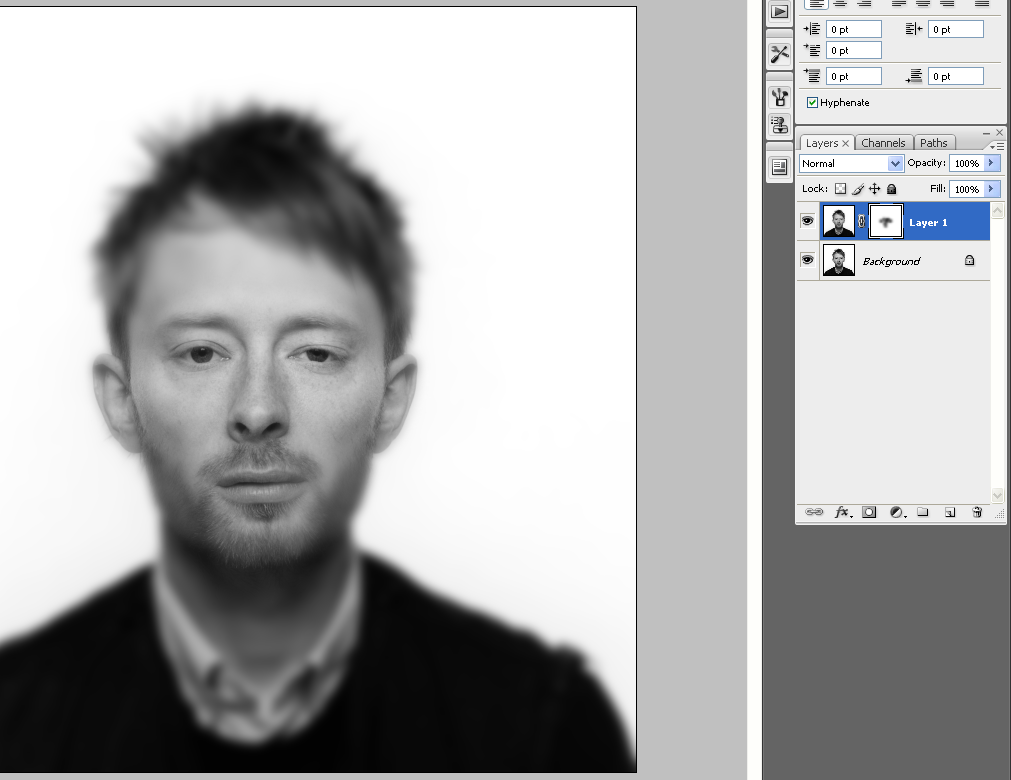
* NOTE : The images I took of you have a black background, we will change this to white (like the image below) by adding a layer above our image, filling it with white Edit > Fill > White, adding a layer mask, lower the opacity of the layer (so you can see yourself) and painting accross yourself. Zoom in and use different size brushes to do a good, but not precise job to mask out yourself. Bring back the opacity of the white layer to 100% when you are done masking.
Open your photo in Photoshop - File > Open
* NOTE : The images I took of you have a black background, we will change this to white (like the image below) by adding a layer above our image, filling it with white Edit > Fill > White, adding a layer mask, lower the opacity of the layer (so you can see yourself) and painting accross yourself. Zoom in and use different size brushes to do a good, but not precise job to mask out yourself. Bring back the opacity of the white layer to 100% when you are done masking.
Step 2
Use the Crop tool to crop your image so it looks like this example. Your image might not need to be cropped!
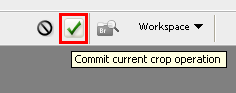
Hit Commit current crop operation (checkmark) or hit the Enter on keyboard to crop the image
Step 3
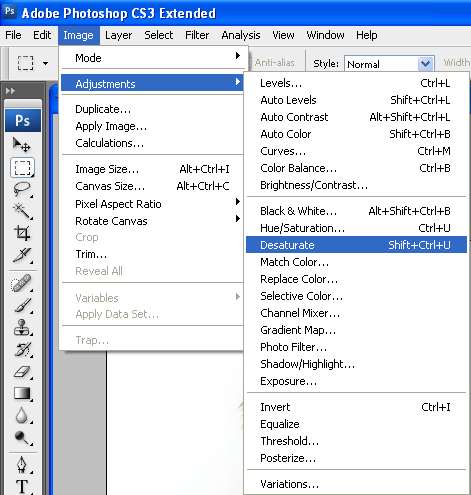
Image > Adjustments > Desaturate (This will remove the color from the image)
Step 4
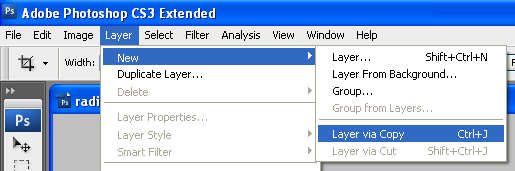
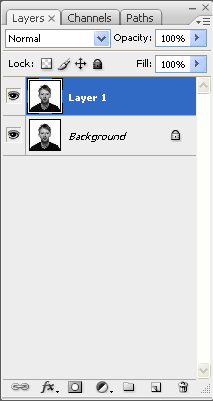
Copy this layer: Layer > New via Copy (Control +J)
|
You now have a copy of this layer and will see this in your Layers Palette
|
Step 5
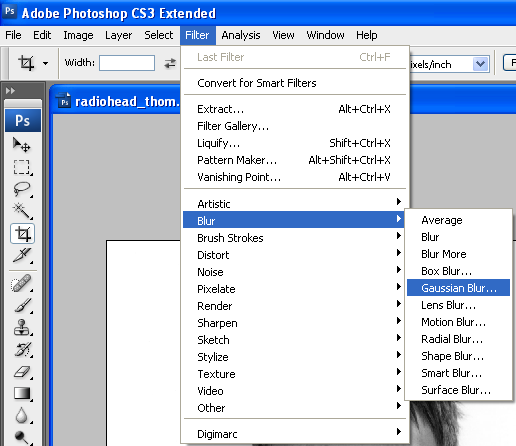
Filter > Blur > Gaussian Blur
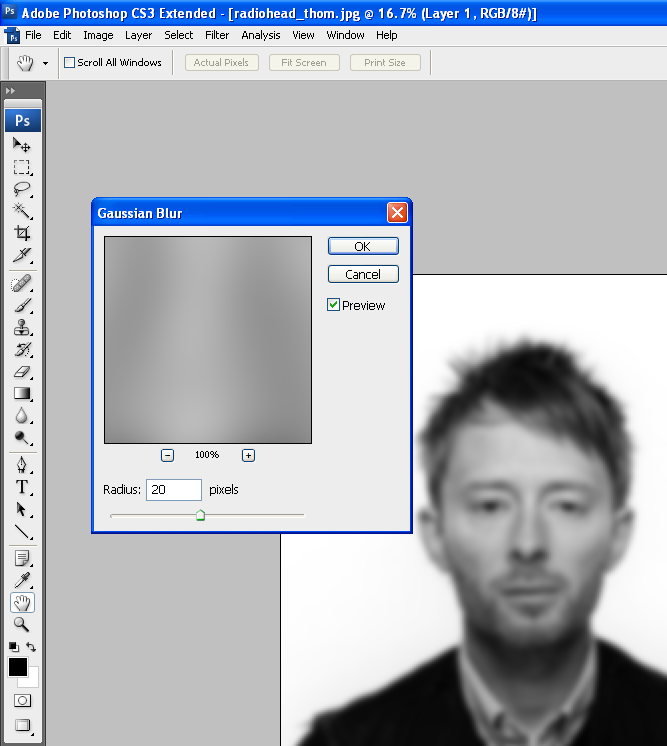
Adjust the settings to Radius between 10 - 20 pixels and click OK (Blur the image like the example below)
|
|
Step 6
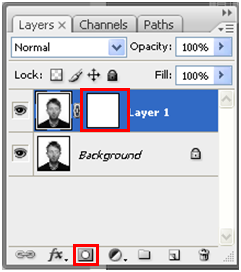
Add a Layer Mask
Click on the icon (see below) to add a layer mask to the top image
|
Using the color Black, take a large size Paintbrush 200px, lower the Brush Opacity to around 20% and paint away inside the Layer Mask to remove the blurred area and reveal the sharp photo (face) below. Don't do this in the hair, neck or shirt.
|
Step 7
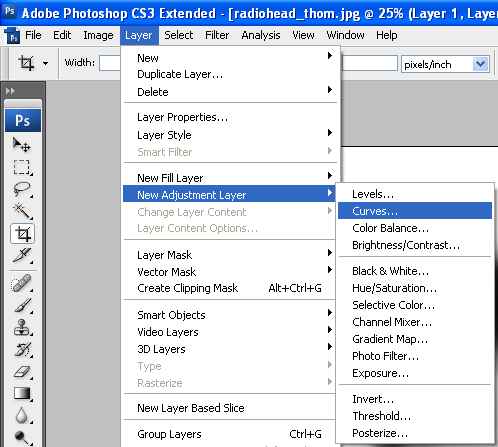
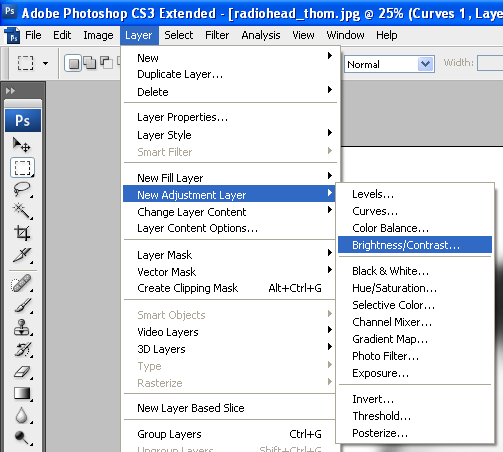
Add two adjustment layers
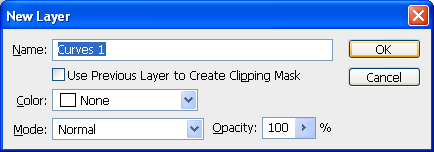
Layer > New Adjustment Layer > Curves
Click OK
|
|
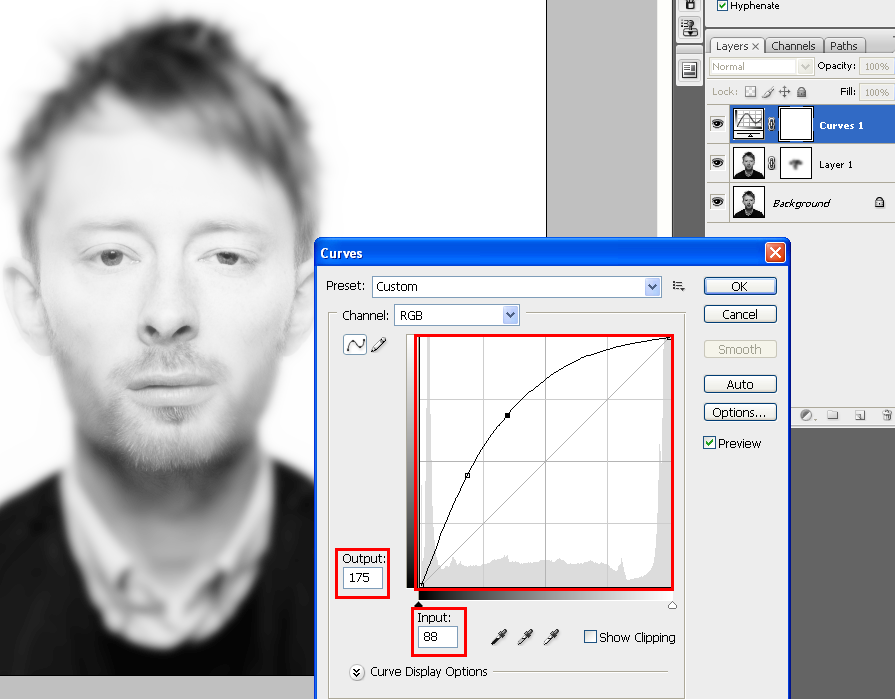
Make your Curve like the one below. Try the settings listed.
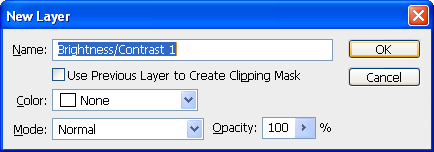
Layer > New Adjustment Layer > Brightness & Contrast
Click OK
|
|
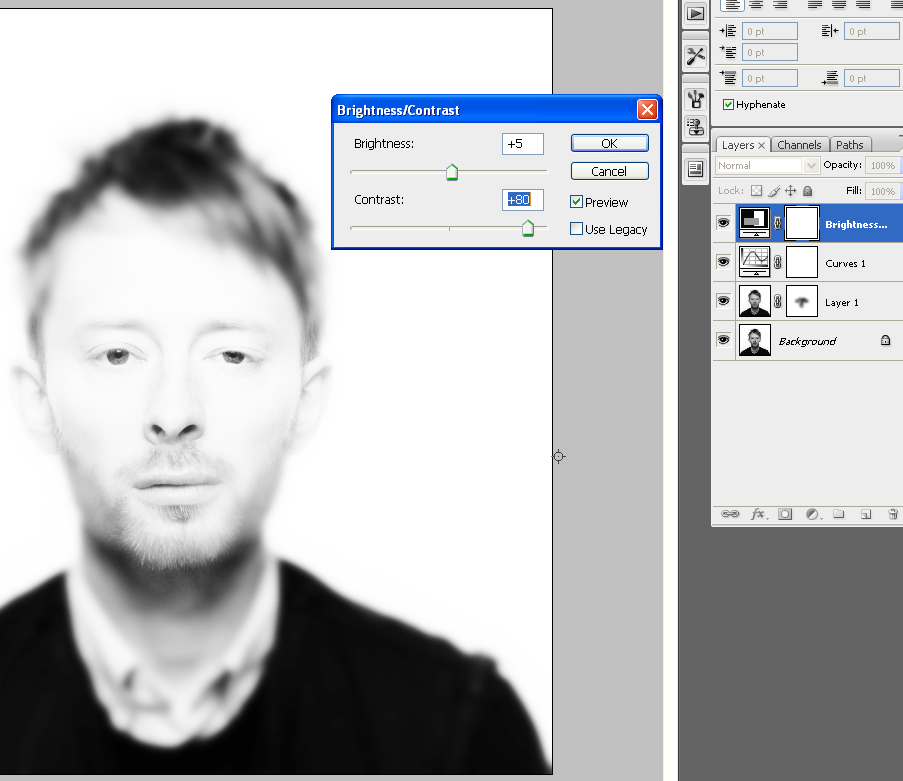
Make the image very bright so the highlights are blown out (very bright image) very few middle tones (grays), and just darker tones remain.
Setting to try Brightness 5, Contrast 80
Step 8
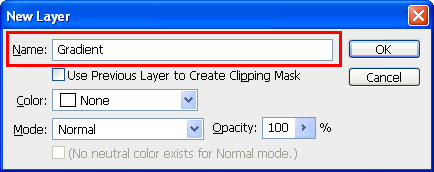
Add a blank layer (Layer > New Layer) and name it Gradient Layer

|
|
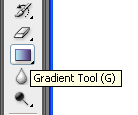
Select the Gradient Tool
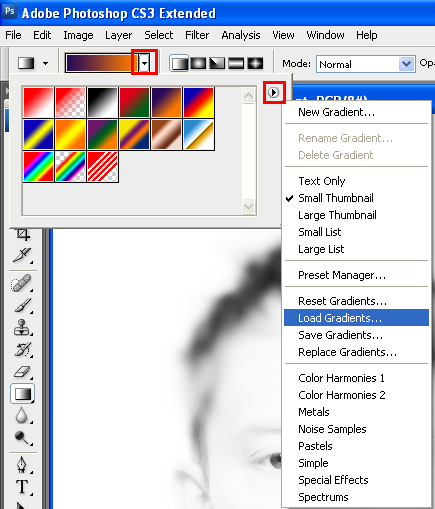
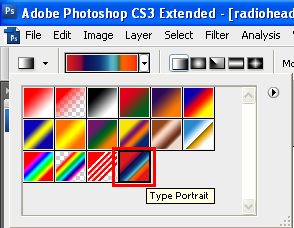
From the Drop Down Menu go to the > Fly out Menu then over to > Load Gradients
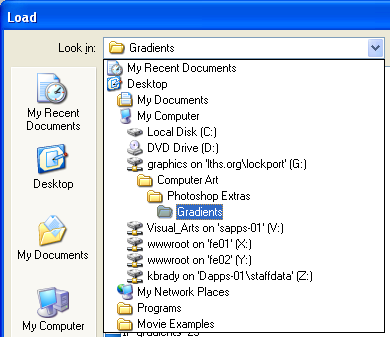
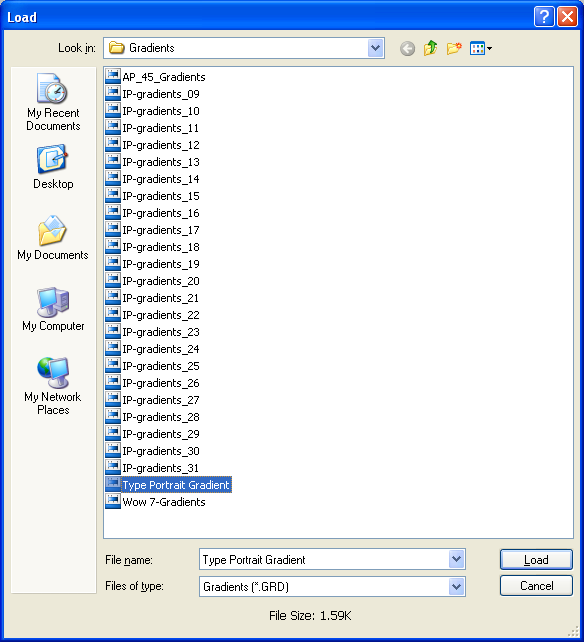
Locate the Type Portrait Gradient, click on it and click > Load
|
|
Click on the Type Portrait Gradient. It is now ready to be used in your project
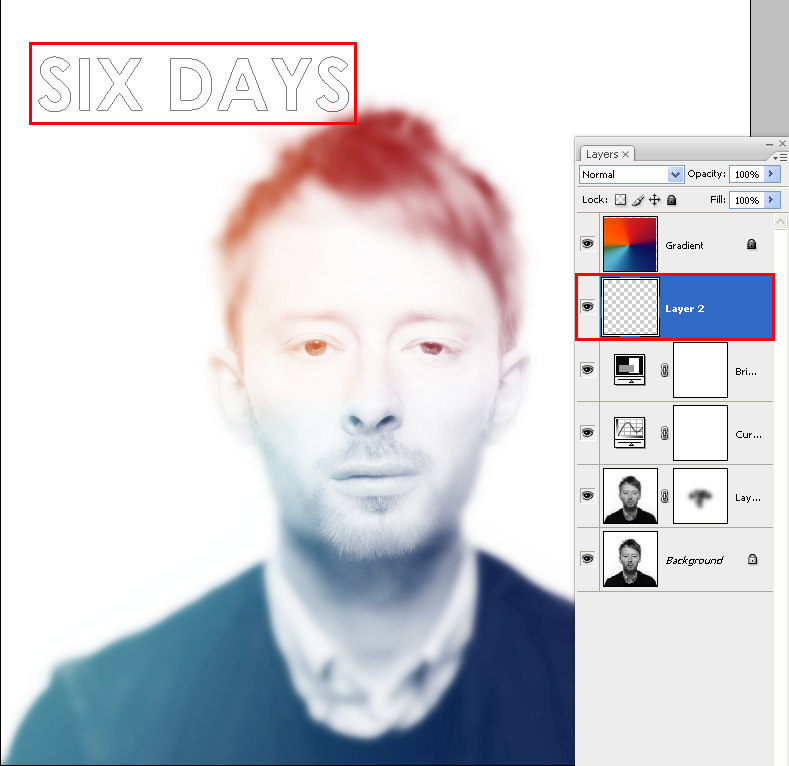
Step 9
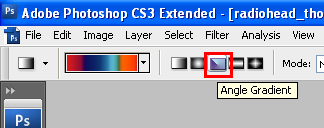
Select the Angle Gradient
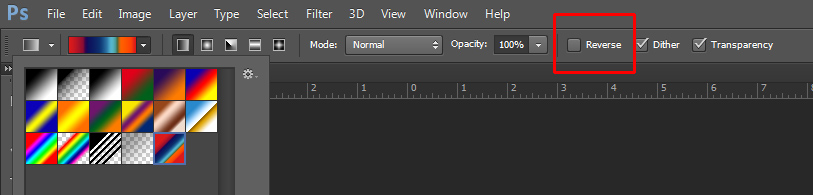
Make sure to uncheck Reverse
Then click in the middle and drag in the image upward to the top and let go of the mouse button. You should get the following. See screenshot below

The Gradient now will cover the images below
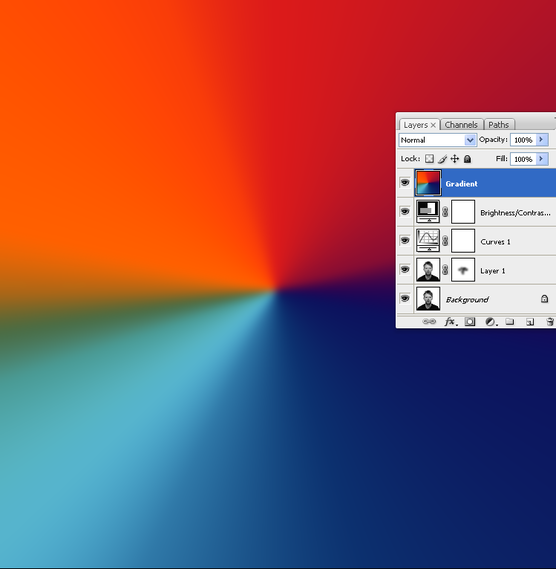
Now change the blend mode of the layer to Screen and lower the opacity to around 60%. You should now see your image

Step 10
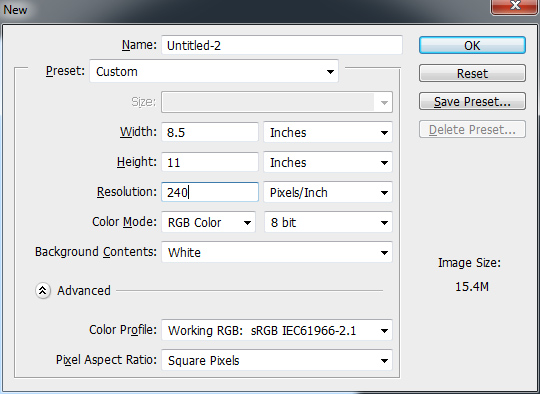
Make a NEW document in Photoshop 8.5 x 11 at 240 pixels per inch
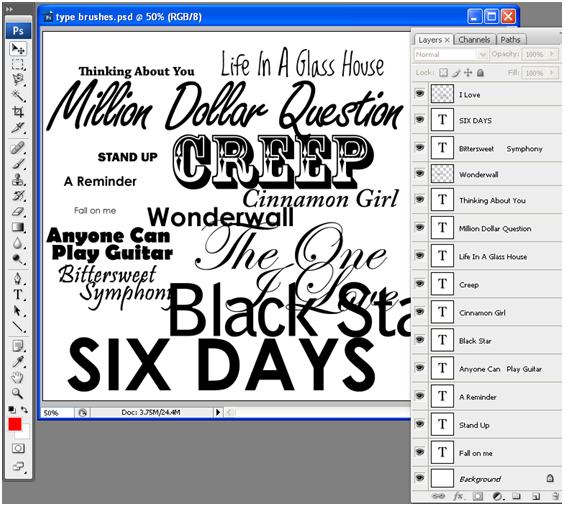
Now start to type out your selected words. (Color - black ONLY, numerous fonts, and large font sizes between 50 - 200 pts)
Type out the songs titles on individual layers (see screenshot below)
Type out the songs titles on individual layers (see screenshot below)
Step 11
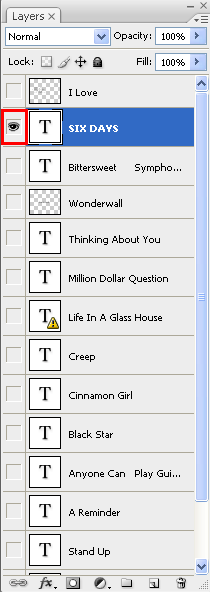
Turn off the visibility of all layers except one and the background like the screenshot below:
|

|
Step 12
Make custom brushes from Text
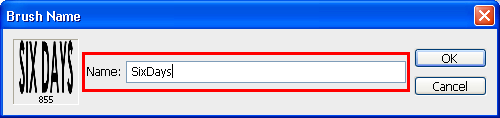
Go to Edit > Define Brush Preset
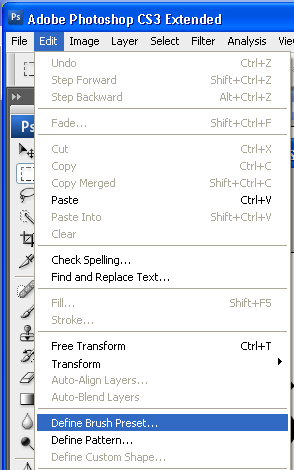
Enter the name for the brush (song title) and click OK
Do the same procedure for all the other words
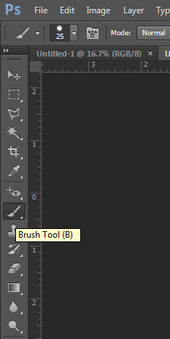
Select the Brush Tool
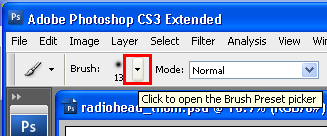
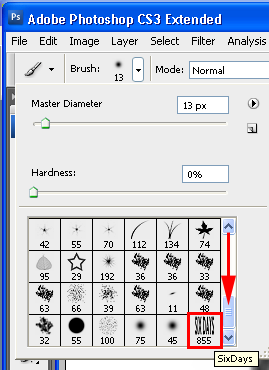
Then, in the Options Bar Click Open the Brush preset picker and drag down see the Type Brushes you made and saved
|
|
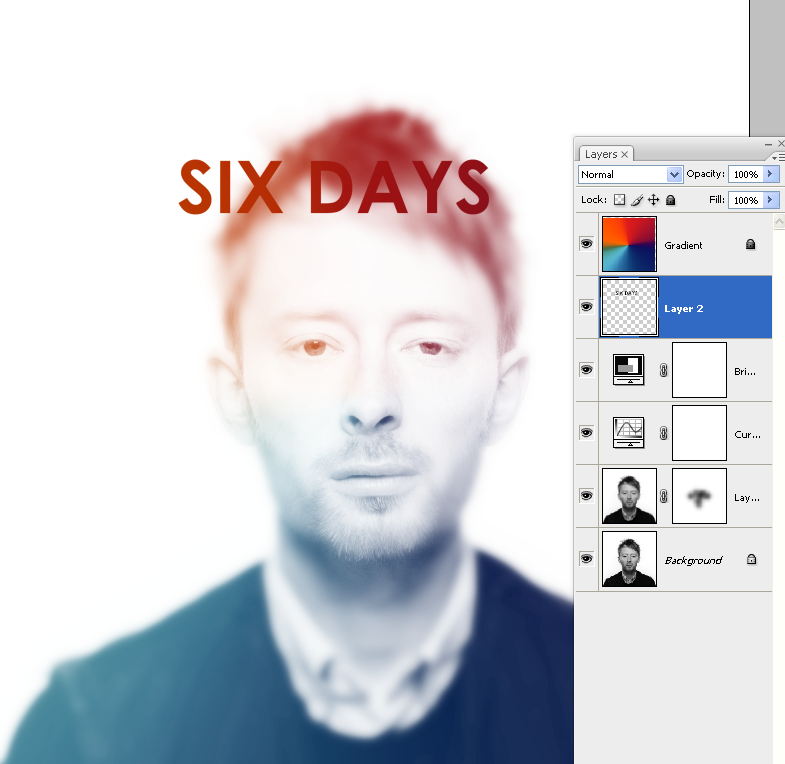
Step 13
Make a new layer called Type below the Gradient layer
Turn off the visibility of your blurred copy of your face – (Layer 1 below). This will make it easier to see where you need to add your text.
Adjust the Size of your Brush (Larger or Smaller if needed) and either click once for individual words or paint in areas (with very small brush sizes) in areas like the eyes for example