Photoshop Actions
DIRECTIONS
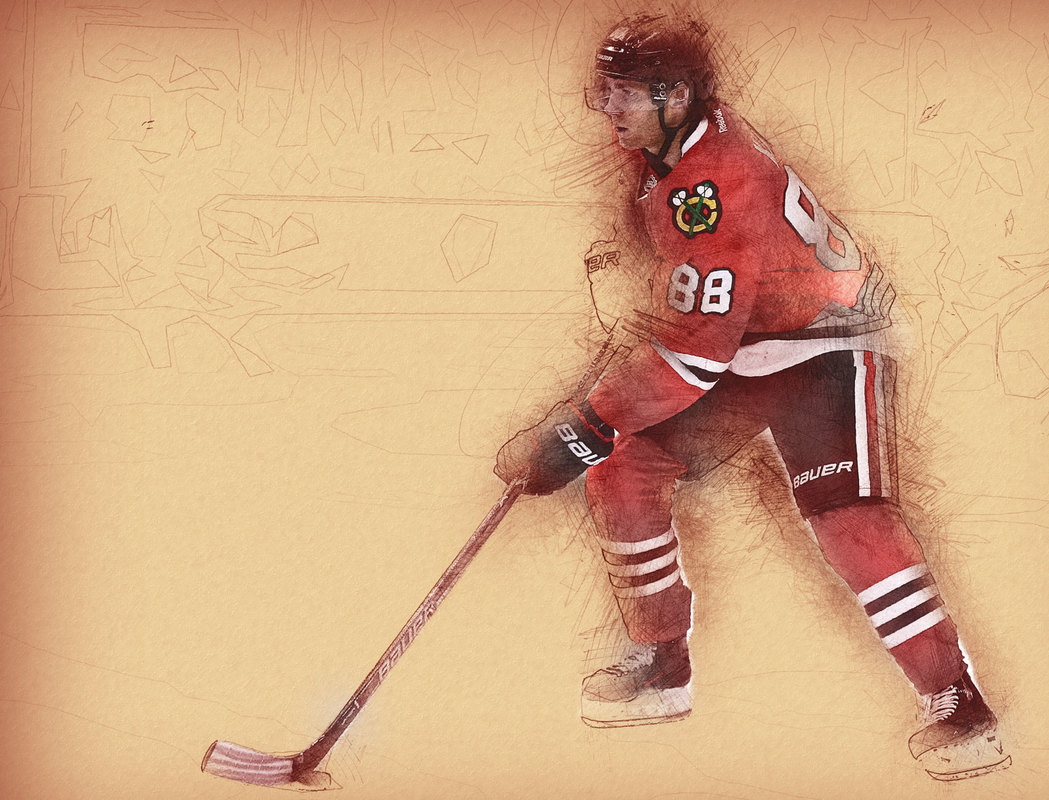
Use Photoshop Actions to develop incredible digital creations by pressing a PLAY button.
Actions are a series of tasks that you play back on a single file, or multiple photos. For example, you can create an action that changes the size of an image, applies an effect to the image, and then saves the file in the desired format.
Watch the video below (I know it's long) to see the process and relative ease of developing incredible digital art.
Please check:
1. Your photo is in RGB color mode. Image > Mode > RGB
2. Your photo is in 8 bit color mode. Image > Mode > 8 bit
3. Avoid using small resolution images. For the best results, use Photos between 1500px - 3500px high/wide.
Install the Action in Photoshop
|
The action to load can be found on the G: drive > Computer Art 2 > Photoshop Actions folder
1. Inside Photoshop, go to the 'Window' menu and select 'Actions'. A window will now appear to the right hand side. 2. Inside the Actions window, click on the top right hand corner icon to reveal the drop down menu. From here select 'Load Actions...'. Select the action which came with the download. 3. The action will now appear in the actions panel. |
How to use the Action
1. Open a photo to work with
2. Leave the photo layer locked and set as the 'Background'. For instructions on how to
set your photo as the background, please refer to the beginning of the video tutorial.
3. Create a new layer above the background layer called 'brush'. MUST be all lowercase.
4. With the 'brush' layer selected, brush onto the areas of your photo that you want to apply the effect to.
5. Next hit 'b' on the keyboard to get your brush tool out.
6. Right click anywhere over the canvas to bring up the brushes panel.
7. Click on the top right hand corner icon to reveal the drop down menu. Select 'Replace Brushes'.
8. Now choose the 'LinesBrushes.abr' file that was included in the download. Same folder
9. Now choose a style and click play on the action!
**Please refer to the video tutorial if you need assistance with these steps**
Additional Actions to Complete (Choose 3 more from below)
These additional Photoshop Actions and files needed to create these digital artworks can be found on the
G: drive > Computer Art 2 > Photoshop Actions folder
G: drive > Computer Art 2 > Photoshop Actions folder
Save 4 total Action Projects
Save your 4 Photoshop Actions files to the V: drive > Computer Art 2 > PS Actions > LAST NAME Action 1.psd, LAST NAME Action 2.psd, LAST NAME Action 3.psd, and LAST NAME Action 4.psd
Examples